Files
There are two different types of files in Xima® Formcycle:
- Client-specific files
- Files that are available to all forms. For example, they could be used as template files for actions of type PDF (Fill) or Word (Fill): The same template may be required by multiple forms. Client-specific files with the extension .css (Css) or .js (JavaScript) are included automatically in all forms. You can upload these files in the menu Files & templates Files.
- Form-specific files
- Files that are only available to the form for which they have been uploaded. Form-specific files with the extension .css (Css) or .js (JavaScript) are included automatically in the form. You can upload these files in the form overview menu My forms if you open the side menu of the form and click on Files. Or you can upload files directly from within the designer by clicking on More Files.
Create a new file
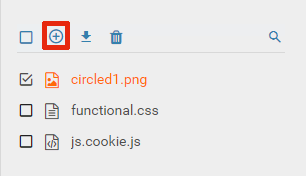
- Click on the button to the top left.
- The browser's file upload dialog opens. Select the file or files you would like to upload. After you choose a file, it will be uploaded automatically.
- Optionally, you can give the uploaded files a different name and description in the panel to the right. To save the changes you have made, click the Save button at the bottom.
If a file with the same name exists already, the file is renamed and created as a separate file.
Update a file
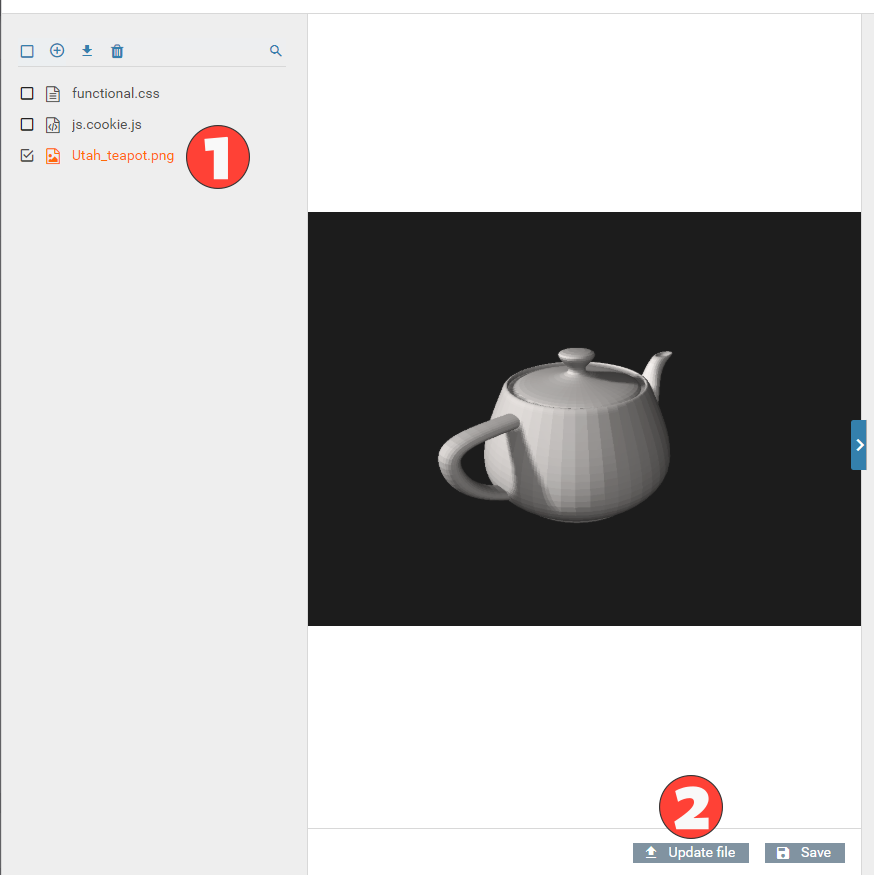
- Select the file you would like to update, by clicking on the file name.
- Click on the button Update file to the bottom right
- This opens the browser's upload dialog. Choose a new file and press Ok.
- To apply the changes, press the Save button to the bottom right
Download a file
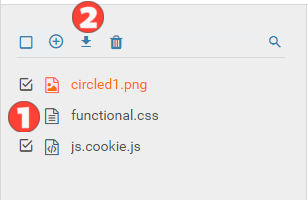
- Use the checkboxes to the left of the filename to select the files you would like to download.
- Click on the download to download the selected files
This starts a file download. If you selected only one files, you can download the file directly. Otherwise, when you selected more than one files, you will get a Zip archive with the files.
Deleting a file
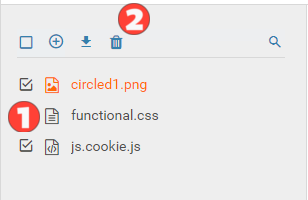
- Use the checkboxes to the left of the filename to select the files you would like to delete.
- Click on the button to delete the files
This will prompt you to confirm whether you would really like to delete the files. A file that has been deleted cannot be restored.
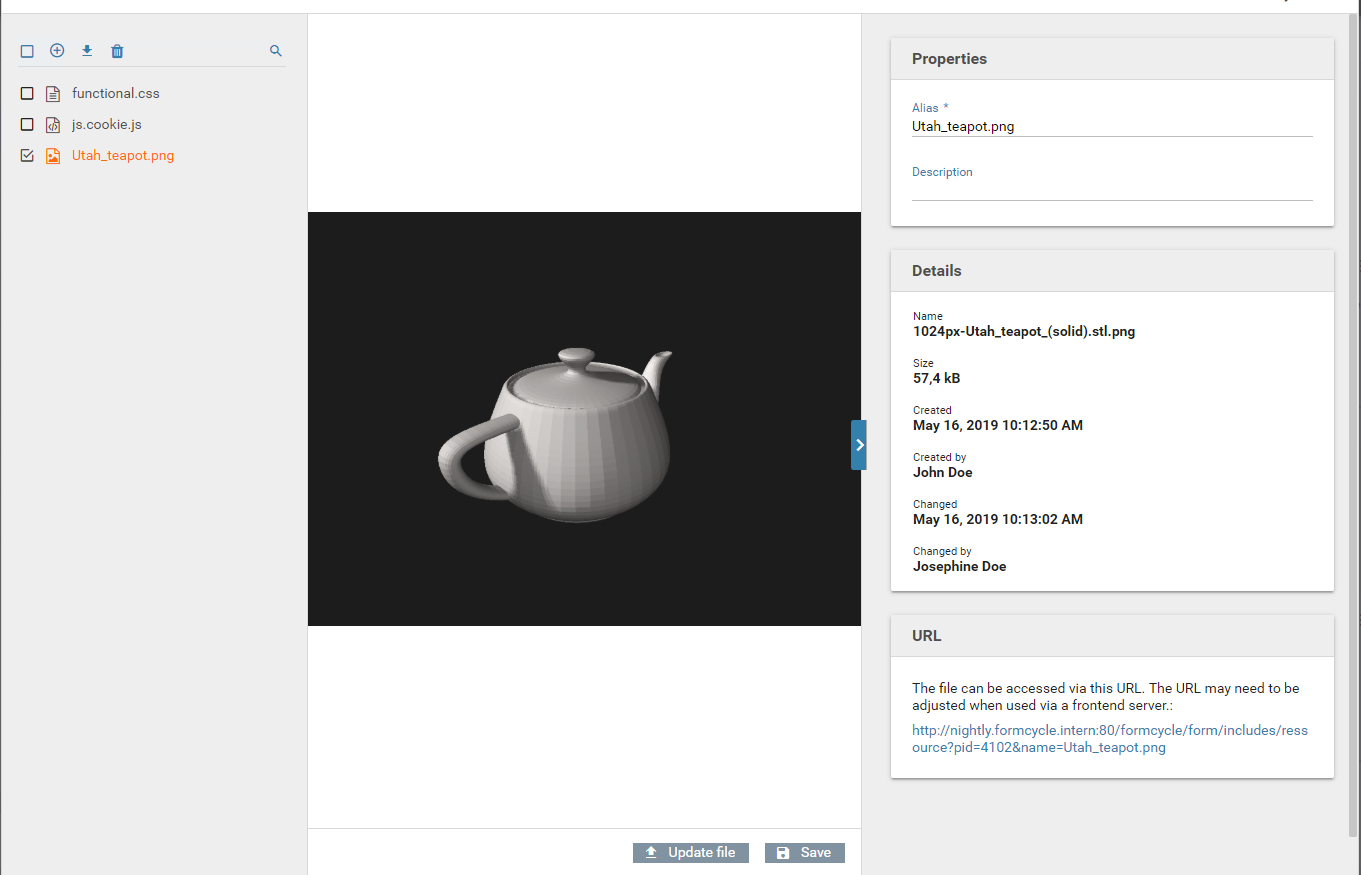
Additional information
The panel to the right offers some more information and several more settings. You can view or edit the following settings:
- Alias
- The name of the file, as it is used in other parts of the system.
- Description
- An internal description for the file. This description is never visible to the end user.
Next, you can also review the following information:
- Name
- The original file name of the uploaded file. This is useful, for instance, when you have updated a file and would like to check whether you uploaded the right file.
Kann etwa genutzt werden, um beim Aktualisieren einer Datei zu prüfen, ob die richtige Datei hochgeladen wurde. - Size
- The file size of the file.
- Created
- The date and time when the file was originally created.
- Create by
- The name of the user who originally created the file.
- Changed
- The date and time when the file was most recently updated.
- Changed by
- The name of the user who made the most recent update to the file
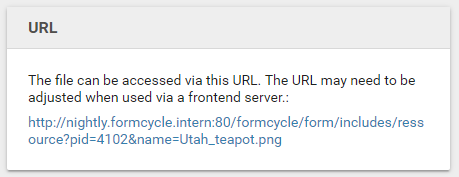
Finally you can get check out the Url to the file. Use this Url to access the contents of the file. Please note that the Url may need to be modified in case you are making use of frontend servers.
Urls are shown for files with the following file extensions only:
.html, .htm, .shtm, .xhtm, .css, .js, .json, .xml, .jpg, .jpeg, .png, .gif, .svg, .ttf, .pdf
6.3.0+ Starting with version 6.3.0 the Url is shown for files with the following file extensions, too:
.otf, .woff, .woff2, .svg, .ttf, .eot, .sfnt, .jpe
For files with other extensions, Xima® Formcycle does not show urls and these files are not accessible from outside via url.